
Showing posts with label Off the Page. Show all posts
Showing posts with label Off the Page. Show all posts
Wednesday, 30 September 2015
Wine bottle sleeve
Friday, 23 August 2013
Mini Muslin bags


Wednesday, 24 April 2013
Black & White Bunting

Just sorted my photo files & found this bunting project I made for a friends shop many moons ago! that I forgot to share. Lots of different Dies, punches, embossing folders & accessories used, I cut up her business card & used words at the bottom of the O, A & K that related to the shop.


Sunday, 17 February 2013
Dress Up Framelits Wedding Collection


I've used everything Stampin' Up! & all current product. There's to much to write so if you have any questions please leave a comment or email me & I will be happy to provide more information. The one thing I would like to mention is that I cut up the beautiful Lace from the Artisan Embellishment Kit for the daisy Flowers & bodice of the left dress. The freestanding wedding dress I used 2 Paper Doilies, 1 is left whole & folded & the other is cut in 1x 1/2 & 2 x 1/4" & those are added underneath for a full long skirt.


Sunday, 10 February 2013
Tea For Two DSP dream

I painted the wood except the front with an acrylic paint I have in my paint stash called Pink Petal.
I also used to embellish the Ribbon & Buttons from SAB, a Tea Time Trinket (129326), Bitty Butterfly (129406) & Elegant Butterfly (127526) punches, a little thread of Calypso Coral Bakers Twine (125573) & some Basic Rhinestone & Pearl Jewels. It measures over 12" long which is why the m has the polka dot paper on it & the pearls hide the join, same with the d, the join is covered with the ribbon. It needed little added as the paper I chose had lots of interest & colour.
Saturday, 29 September 2012
International Bazaar DSP


Thursday, 16 February 2012
Birthday Card Book


Once you have made one of these you will be inspired to fill it & will be organised!
Makes a beautiful thoughtful gift.
Thank you Jane for the inspiration.


Thursday, 20 October 2011
SU! Fabric Pin Cushions

Saturday, 15 October 2011
pocket full of kusudama flowers & bookmark
My favourite DSP would have to be Pocket Full of Posies & I just had to see what every sheet looked like folded into a kusudama flower. These flowers are pretty easy to make, a little time consuming making 1/2 a dozen, LOL. A wonderful step by step tutorial to follow here. My only tip is to use sticky strip with DSP, this is the strongest adhesive I believe.


 A simple corner book mark with a Kusudama flower attached. Each petal is 2" squares of First Edition Specialty paper, this DSP is thinner than the basic DSP we have so it's perfect for folding the flowers & snail adhesive has kept it together but be sure to burnish together well.


 A simple corner book mark with a Kusudama flower attached. Each petal is 2" squares of First Edition Specialty paper, this DSP is thinner than the basic DSP we have so it's perfect for folding the flowers & snail adhesive has kept it together but be sure to burnish together well.
Thursday, 16 December 2010
stamped candle
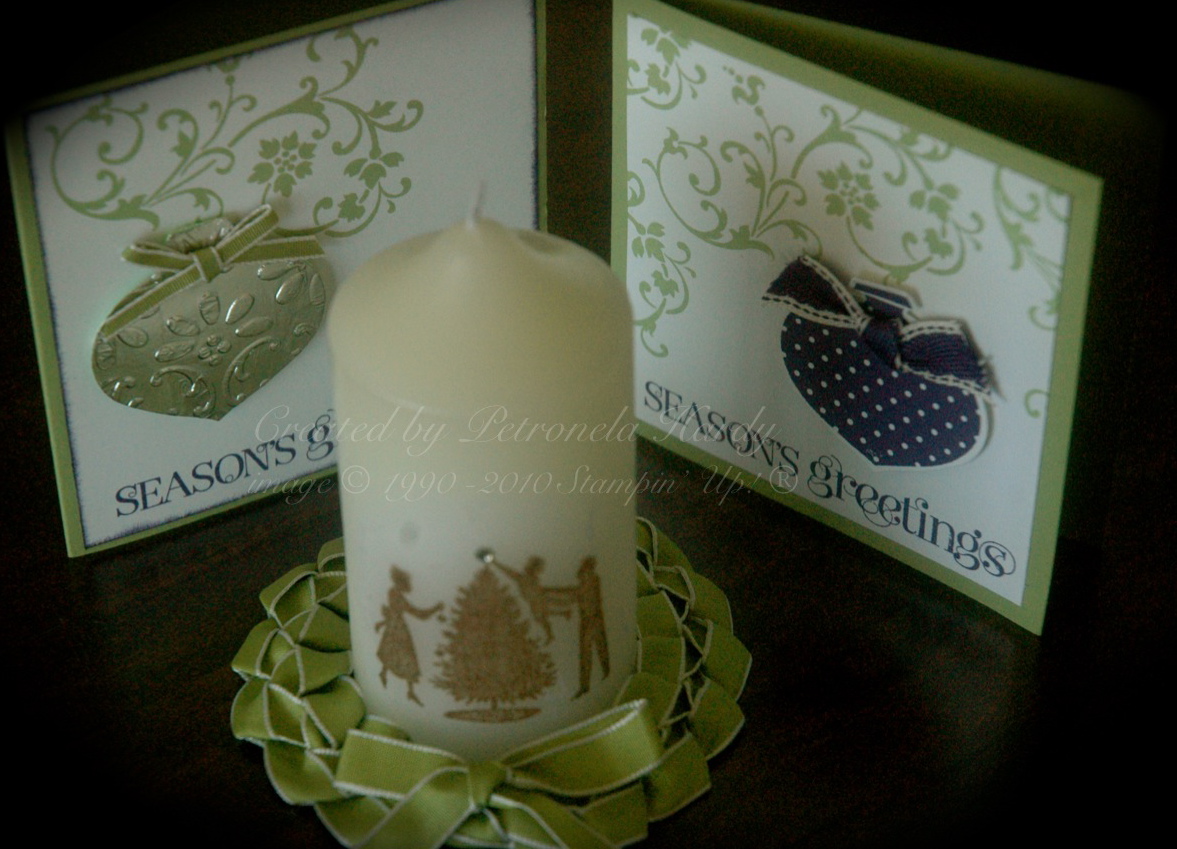
I loved the idea of embossing foil, (shown to me by my team member Cheryl at our last team meeting) so I gave it a go with my simple SAS design bauble card.
On another note I have managed to create a watermark in pages, long process & I hope I'm able to use it & do it again, LOL, atleast until I get the appropriate software for mac.
Wednesday, 10 November 2010
Fancy Favour tea light holders

How pretty is this Luminere with the Flocked Cocoa Specialty DSP , I made a matching Tag with the ornament I punched out of the box & decorated the tealight with DSP & the left over top strip from the Fancy Favour cut (had to use that up, LOL). The Reindeer is from Winter Post & he's white Embossed onto Vellum CS, the ribbon is red satin.
Below are a few different takes made at my Christmas Class

Monday, 9 November 2009
Joy Monologue

I really enjoyed decorating this Joy monologue for the Christmas INKstinct swap this month. We had to make something that can brought out year after year. I used retired Christmas SU! DS papers & some of the ribbons are as well, I painted the O & then stamped on that with the snowflakes from "So Swirly" I also used the greeting "May the true spirit of Christmas fill your heart with peace, your home with love" & finished it off with a Riding Hood Red Striped Ribbon bow. I just ordered some more of this gorgeous ribbon for my Christmas gift wrapping as it retires at the end of this month & I also ordered some gorgeous new red Polka Dot Ribbon from the Summer mini which goes live on the 1st December.
Sunday, 25 October 2009
Watering Can tutorial

How cute is this watering can (Teya thought it was a tea pot) I thought it might be fiddly but to cute to resist making one & it was a cinch thanks to the great template & video tutorial here on Splitcoast.
Tuesday, 6 October 2009
Bag & Brag Stampin' Up! a Storm project

Parisian Breeze Specialty Designer Series Paper were in mind when I designed this project. I made a similar one years ago at a Rebekka Erickson class I did. The bag was manufactured & bigger than 12" CS so I designed my own template out of an A4 sheet of Confetti White CS to hold the hang n brag which are 3 x A5 held together with ribbon & decorated with Parisian Breeze papers. I also made another to house std cards & C6 envelopes, Lewis our cat is taking a closer look!

Sunday, 6 July 2008
bookmark

A bookmark made in minutes! The ribbon is 26cm long & I used staples to attach the 2 scallops to the ribbon, simply fold the ribbon in 1/2 & place a scallop on either side -line them up keeping the ribbon as high to the scallops but not poking through & staple all together, this bookmark clips over the page so it's important that you don't staple to low either. Stamp your monogram on white cs in Wild Wasabi ink & punch out with the 1 1/4" punch, you will also need one on the reverse, so stamp another monogram or as I did use a background stamp like "En Francais", layer these onto Regal Rose 1 3/4" circles & onto the Wild Wasabi scallops. Here are some other ideas to use.

Subscribe to:
Posts (Atom)